How to Fix QuickBooks Install Error Code 1904?
Error 1904 is unsophisticated towards QuickBooks Software at the time of installing QuickBooks files. It also occurs due to the system and unable to keep files and folders maintained. Occurring of QuickBooks error code 1904 means fails to register file path name and extension.
There is not only one or two phase when
error 1904 occurs. Users can also face
the problem if install it with upgrading window in operating system. Or if the system is not rebooted after the
update of QuickBooks.
Reasons of occurring QuickBooks Install error 1904
Let see what are those reasons due to which
users have to face error 1904 at the time of installation in QuickBooks
accounting software please have a look on following reasons.
1.
The very first reason we can
see before that due to file settings are not appropriate due to which the file
gets corrupted and lead this error.
2.
As we discussed earlier that the
reason of error is because of file corruption and there are some specific files
due to which the error occurs and that are dii, qbupdate.exe, ICWrapper.dII, RcnFndRequestHandler.dII,
etc and reason of the corrupted files is Microsoft Visual C++ damaged
component.
3.
The error occurs due to install
of error 1904 in upgraded window and without rebooting the operating system.
4.
To install the window users
have lack of required permission
Solution to fix QuickBooks install error 1904
To resolve the install error 1904,
implement some following solutions let see what they are DIY steps.
Solution 1: - Download QuickBooks install diagnostic tool
The diagnostic tool hub is a box of all
solutions of errors. By using it there is chances to resolve issue.
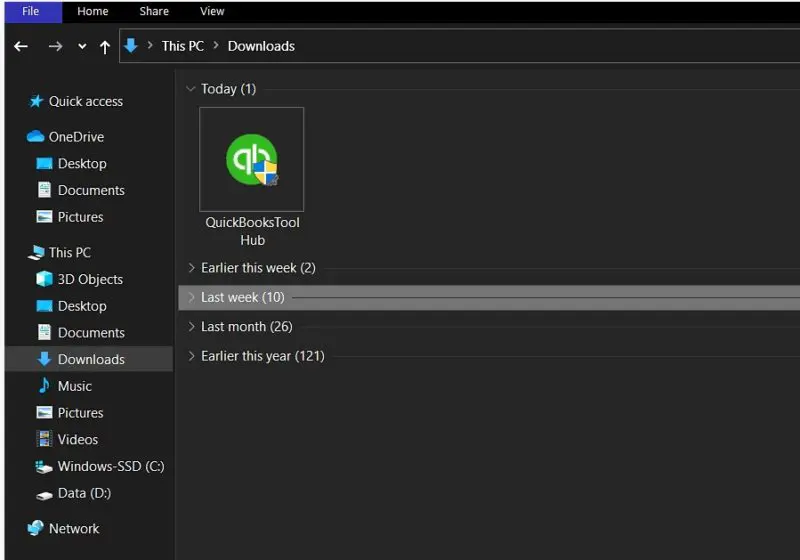
1. Click on Ignore showing on error message and download QuickBooks tool hub latest version and keep close the QuickBooks software.
2.
Open the downloaded version of QuickBooks
tool hub.exe
3. After that, complete the installation of tool hub by following remaining steps of on screen downloading.
4.
After complete the process open
the window of tool hub by hitting click on the icon
5.
If the icon of tool hub is not
seen on desktop after downloading so can search from the window bar
6.
Now, open the Diagnostic
tool hub and select Installation Issues
7.
And select the option of QuickBooks
Desktop Install Diagnostic tool this tool will take approx. 20
minute to run.
8.
After finish the
installation restart the system.
9.
And at last, if you are able to
working on the QuickBooks than it is perfectly fine and if it is not. Then move
on to the next solution, the solution number 2
Solution 2: - Change in window administrator setting
With the help of following steps you will be succieverly activate the built-in administrator.

Step 1: - Learn
how to activate built-in administrator
·
Click on windows icon showing
on the bottom of the system.
·
Type CMD or Command
Prompt or cmd.exe after disclose the option right -click on it and
choose Run as Administrator.
·
Type “net user
administrator/ active: yes” in the command prompt window and hit Enter button
showing on keyboard. After complete the process close the administrator window.
Step 2: - Upgrade to the built-in administrator account
·
Hit the keys ctrl+alt+Delete
simultaneously, after that select the option of “Switch User Windows 8 users”: Click on the
Windows showing bottom on the desktop and then click on user icon which is also
showing on the top right.
·
Press the keys same as above ctrl+alt+Delete
simultaneously and select “default Administrator account” icon.
Step -3 Hide the built-in administrator account
Press the window key
Type the CMD in search bar after
display the option right click on it & choose the option of Run as
Administrator.
Type “net user administrator /active:no” in command
window and click on enter.
Step 4:- Upgrade installation
directory setting
·
Click on windows icon
·
Open File explorer
·
Search C:\Program
Files\Common Files.
·
Right – click on the “Common
file” folder and then take the arrow to the Properties tab.
·
Then move to the security tab and then click Edit.
·
Click on Users from the Group or user names
· From the permission for users section highlight the following Permissions
- Modify
- Read and Execute
- List Folder Contents
- Read
- Write
- select the “Apply” and
then click “OK”
Step 5:- Perform
installation of QuickBooks
·
Reinstall the QuickBooks
Desktop.
·
After complete the process of
installation of this accounting software and log in with original user id.
Conclusion
We really hope that the above solutions
will resolve the QuickBooks install
error 1904 and still it seems to be not solved and you find out the same place so you just don’t
worry you can contact our 24/7
QuickBooks technical support team via our helpline i.e, 1-800-761-1787.

Comments
Post a Comment